
On this page:
Add a user to your group
Approved staff from Victorian responsible authorities or referral agencies are given access to upload data to our reporting system. Existing users can add new people to their group via the ‘Manage groups’ functionality when logged into the system.
Adding a user to a group grants them access to all records created by or referred to the group, enabling them to respond to requests from the department.
Speak to an approved user in your organisation, or contact Planning Support to request access.
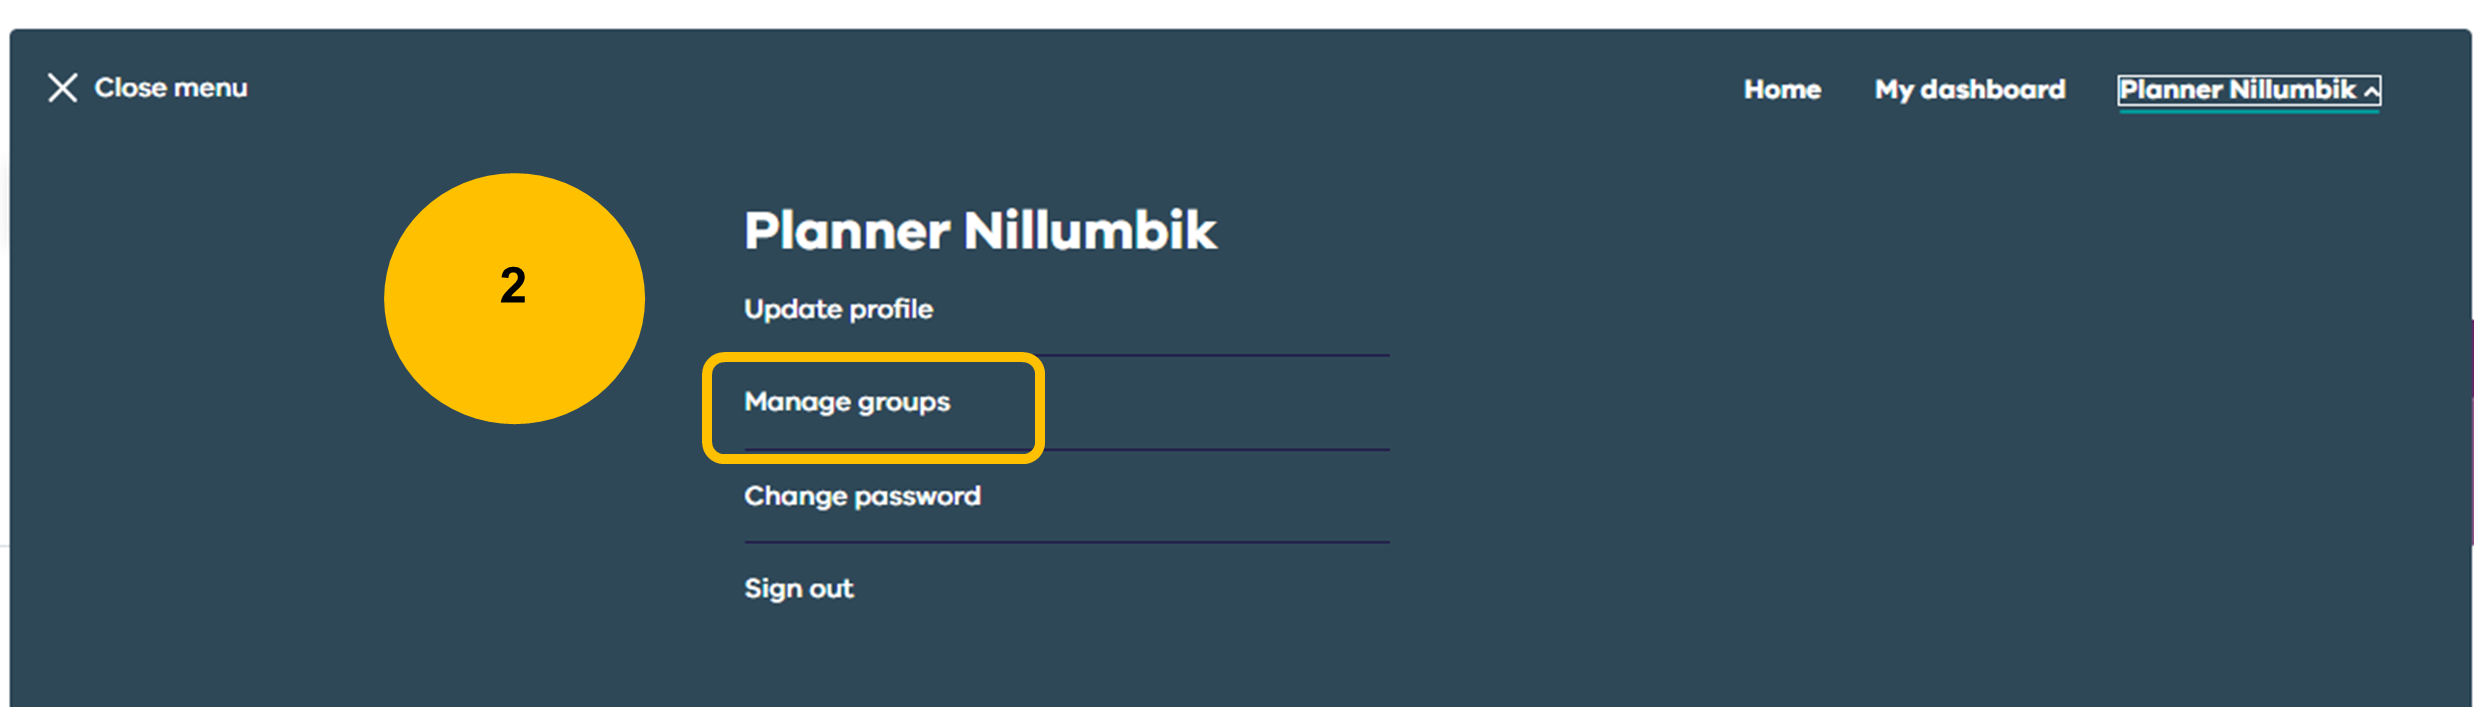
- Select your user profile located at the top right of screen.
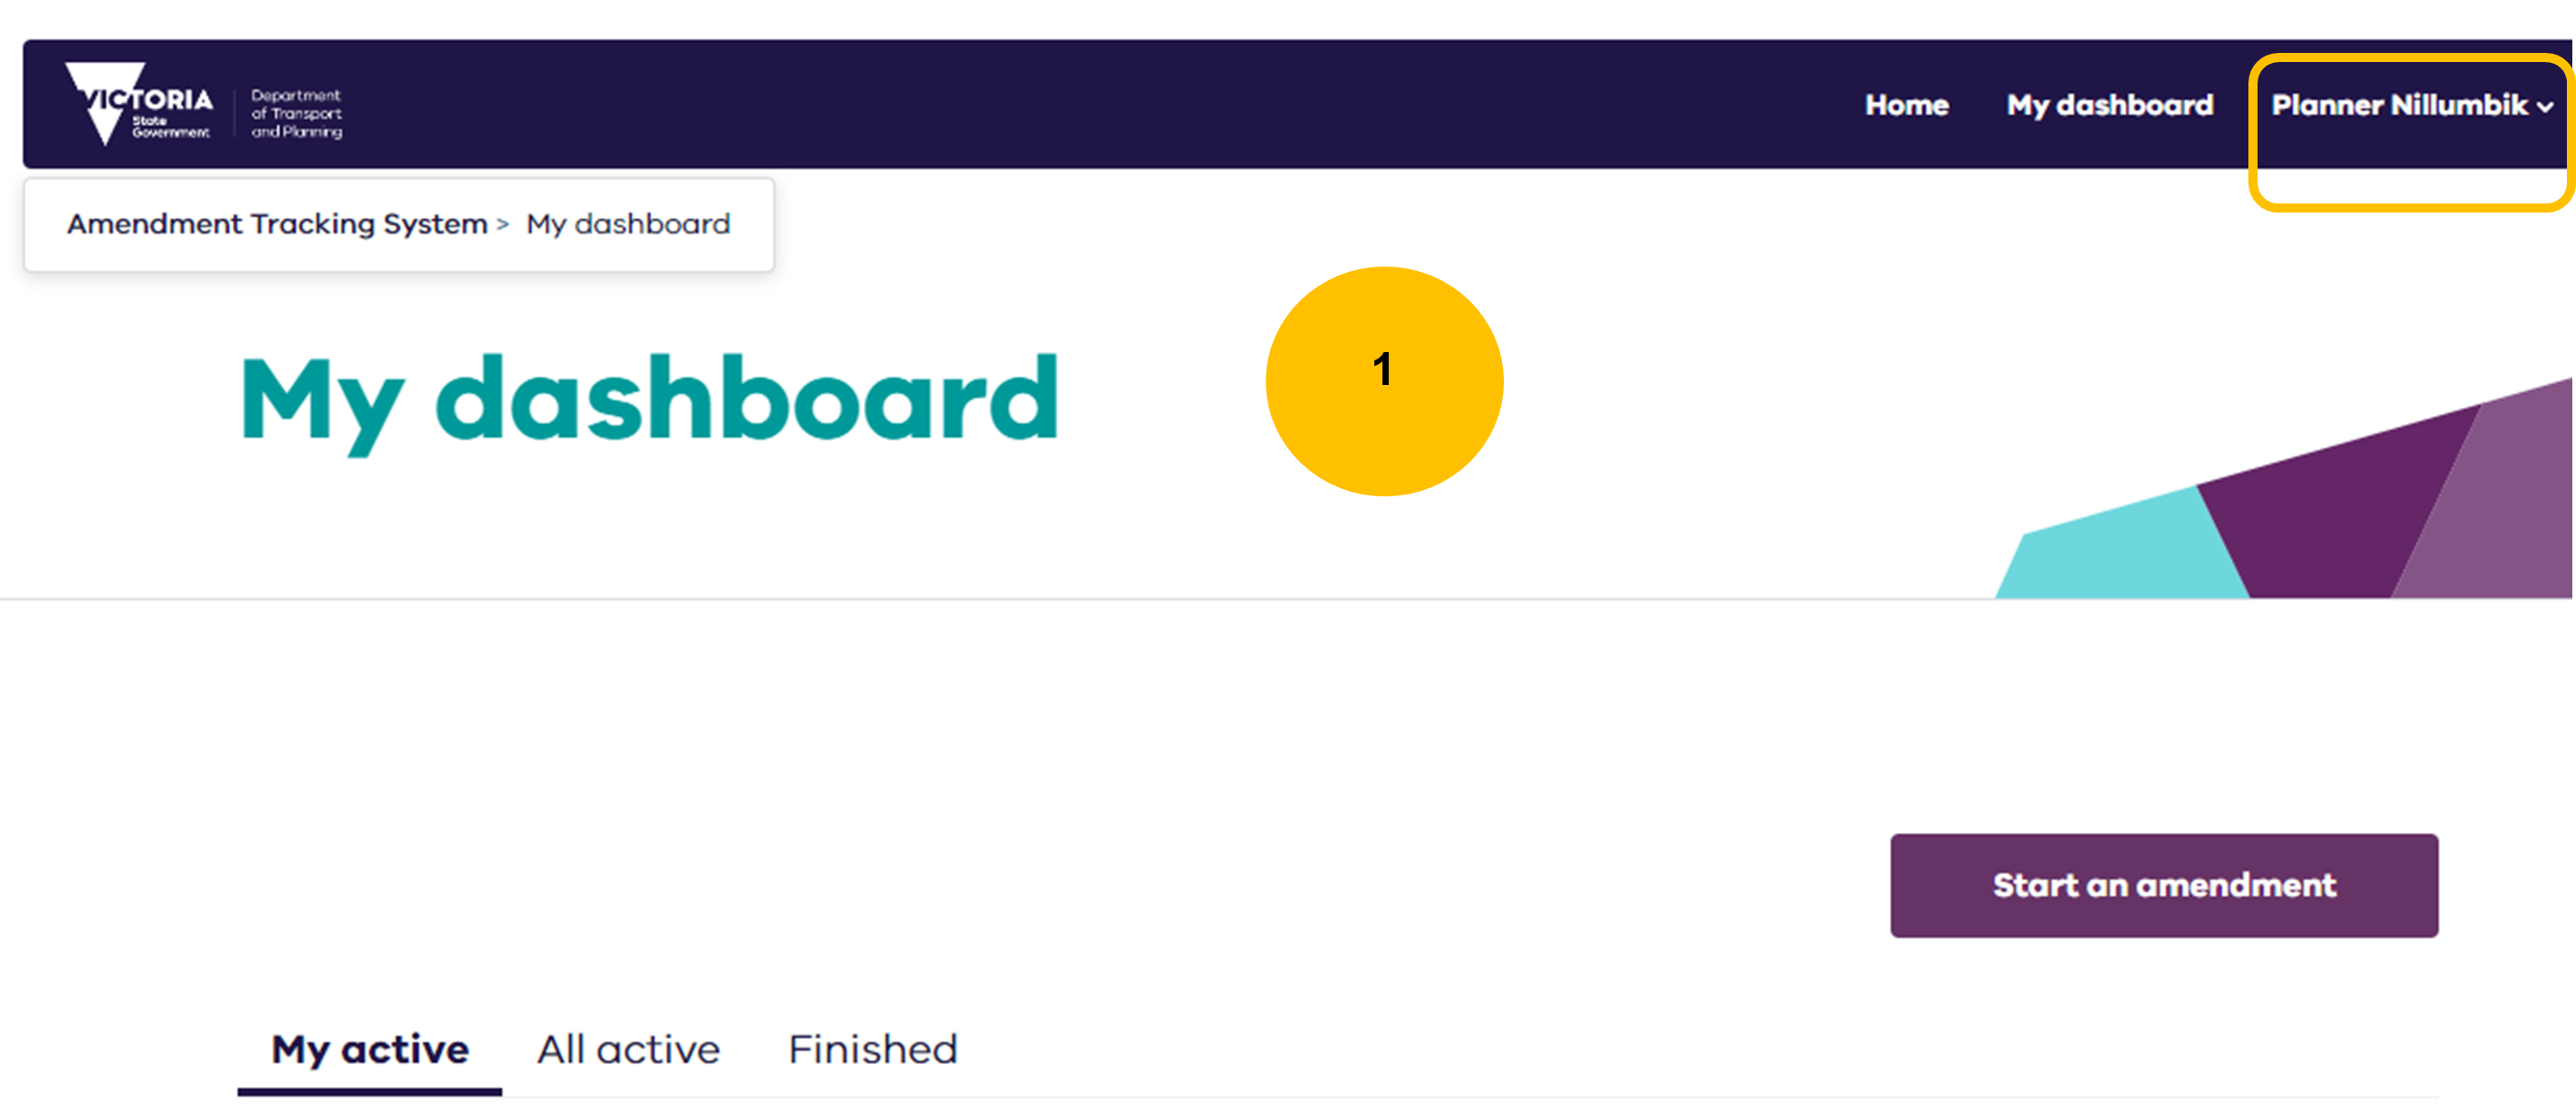
- Select Manage Groups.

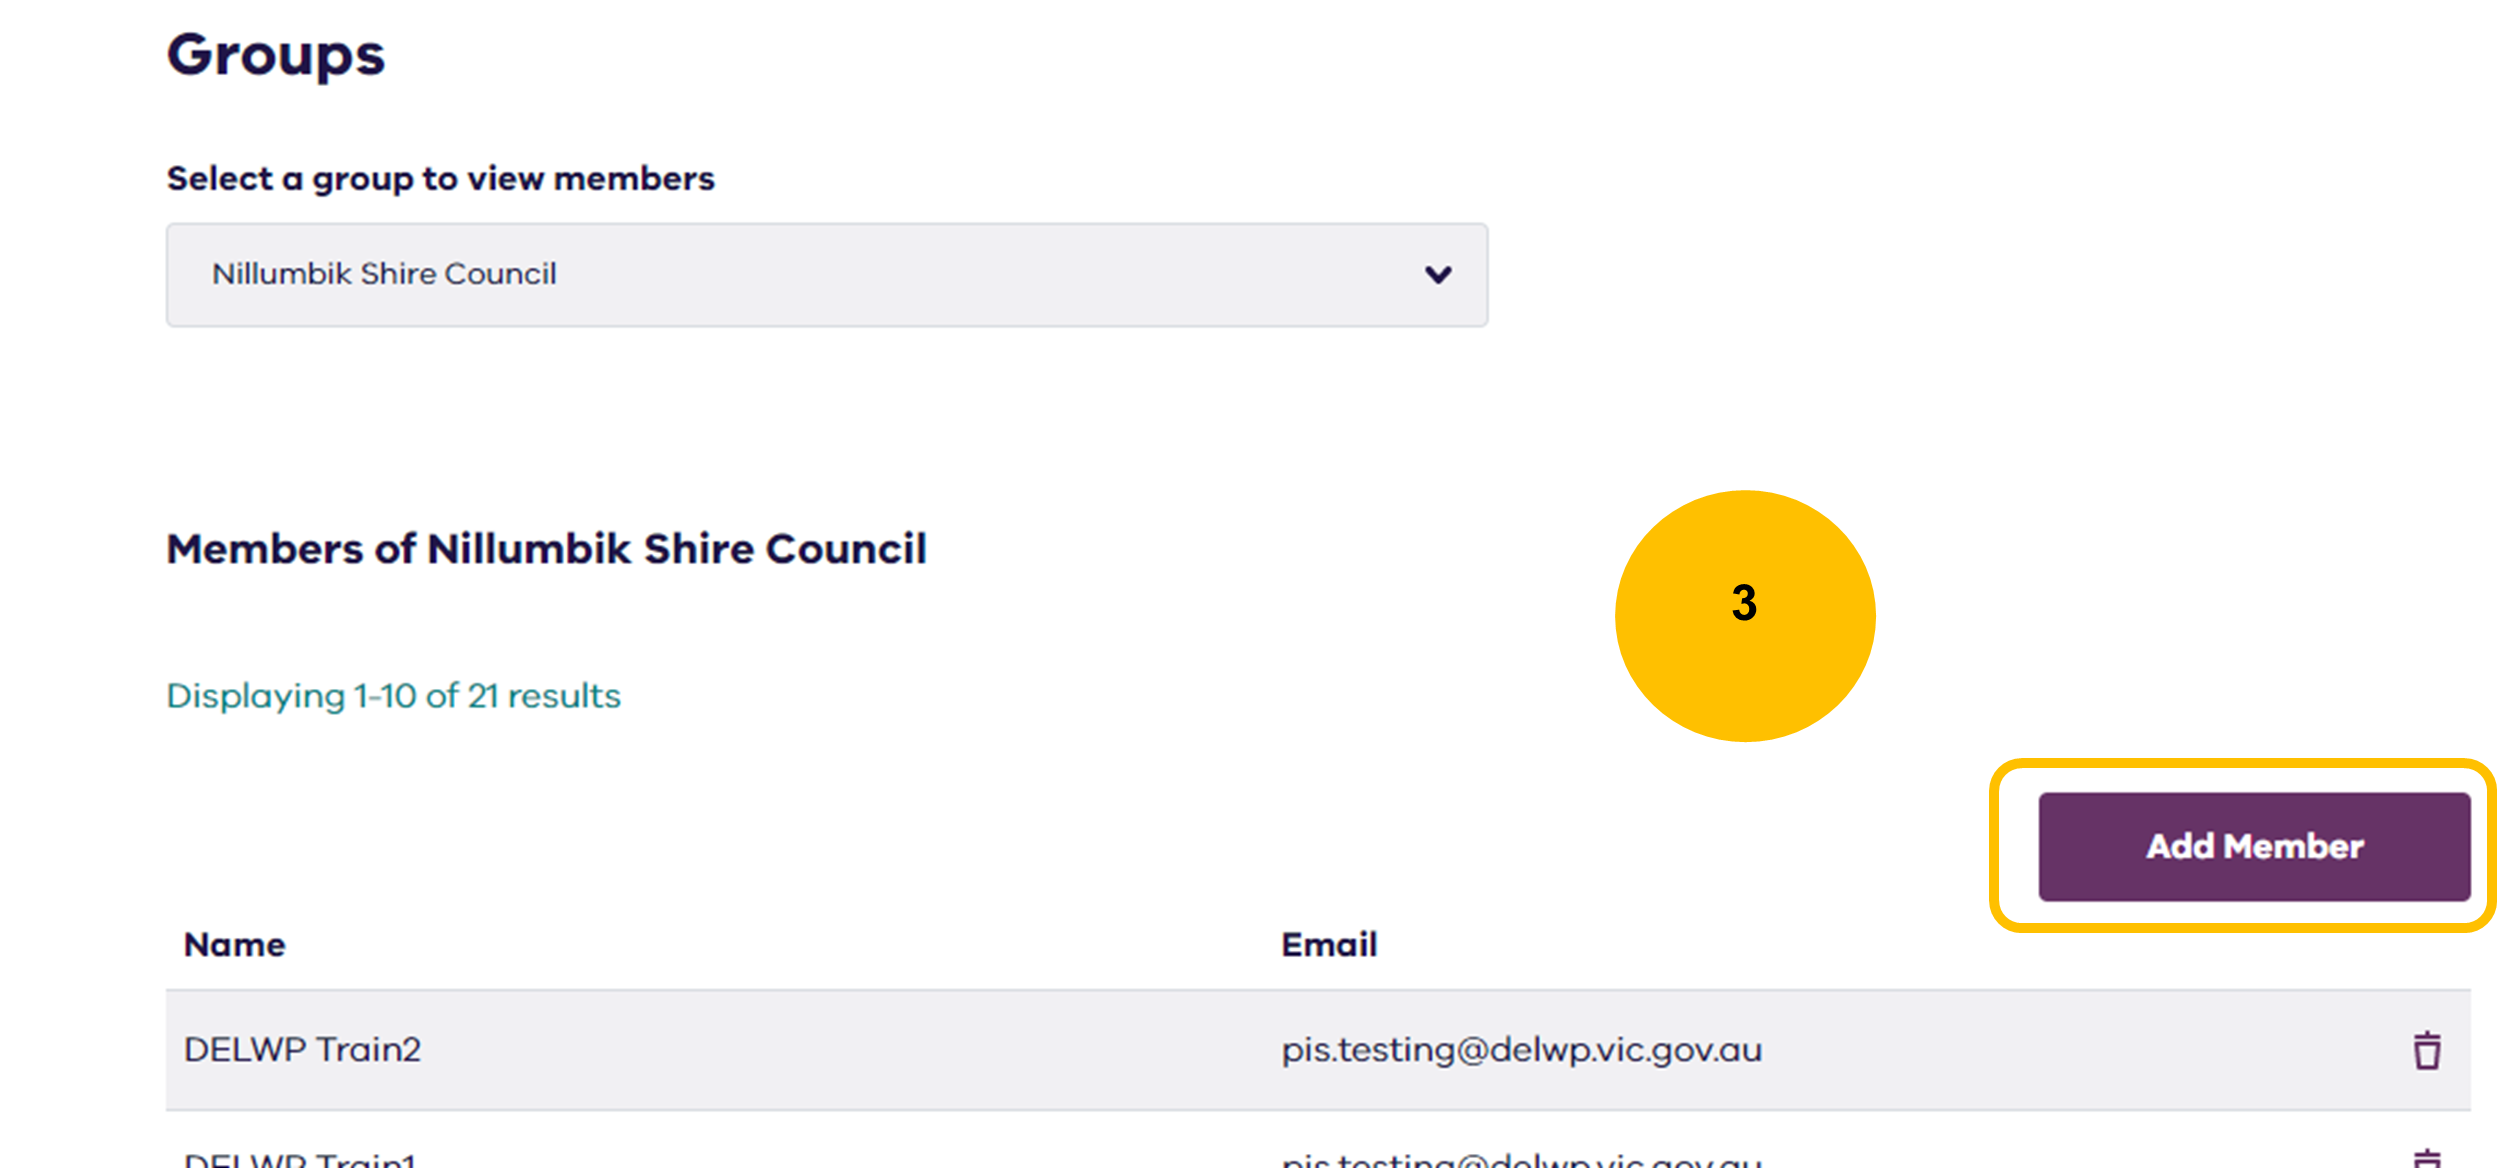
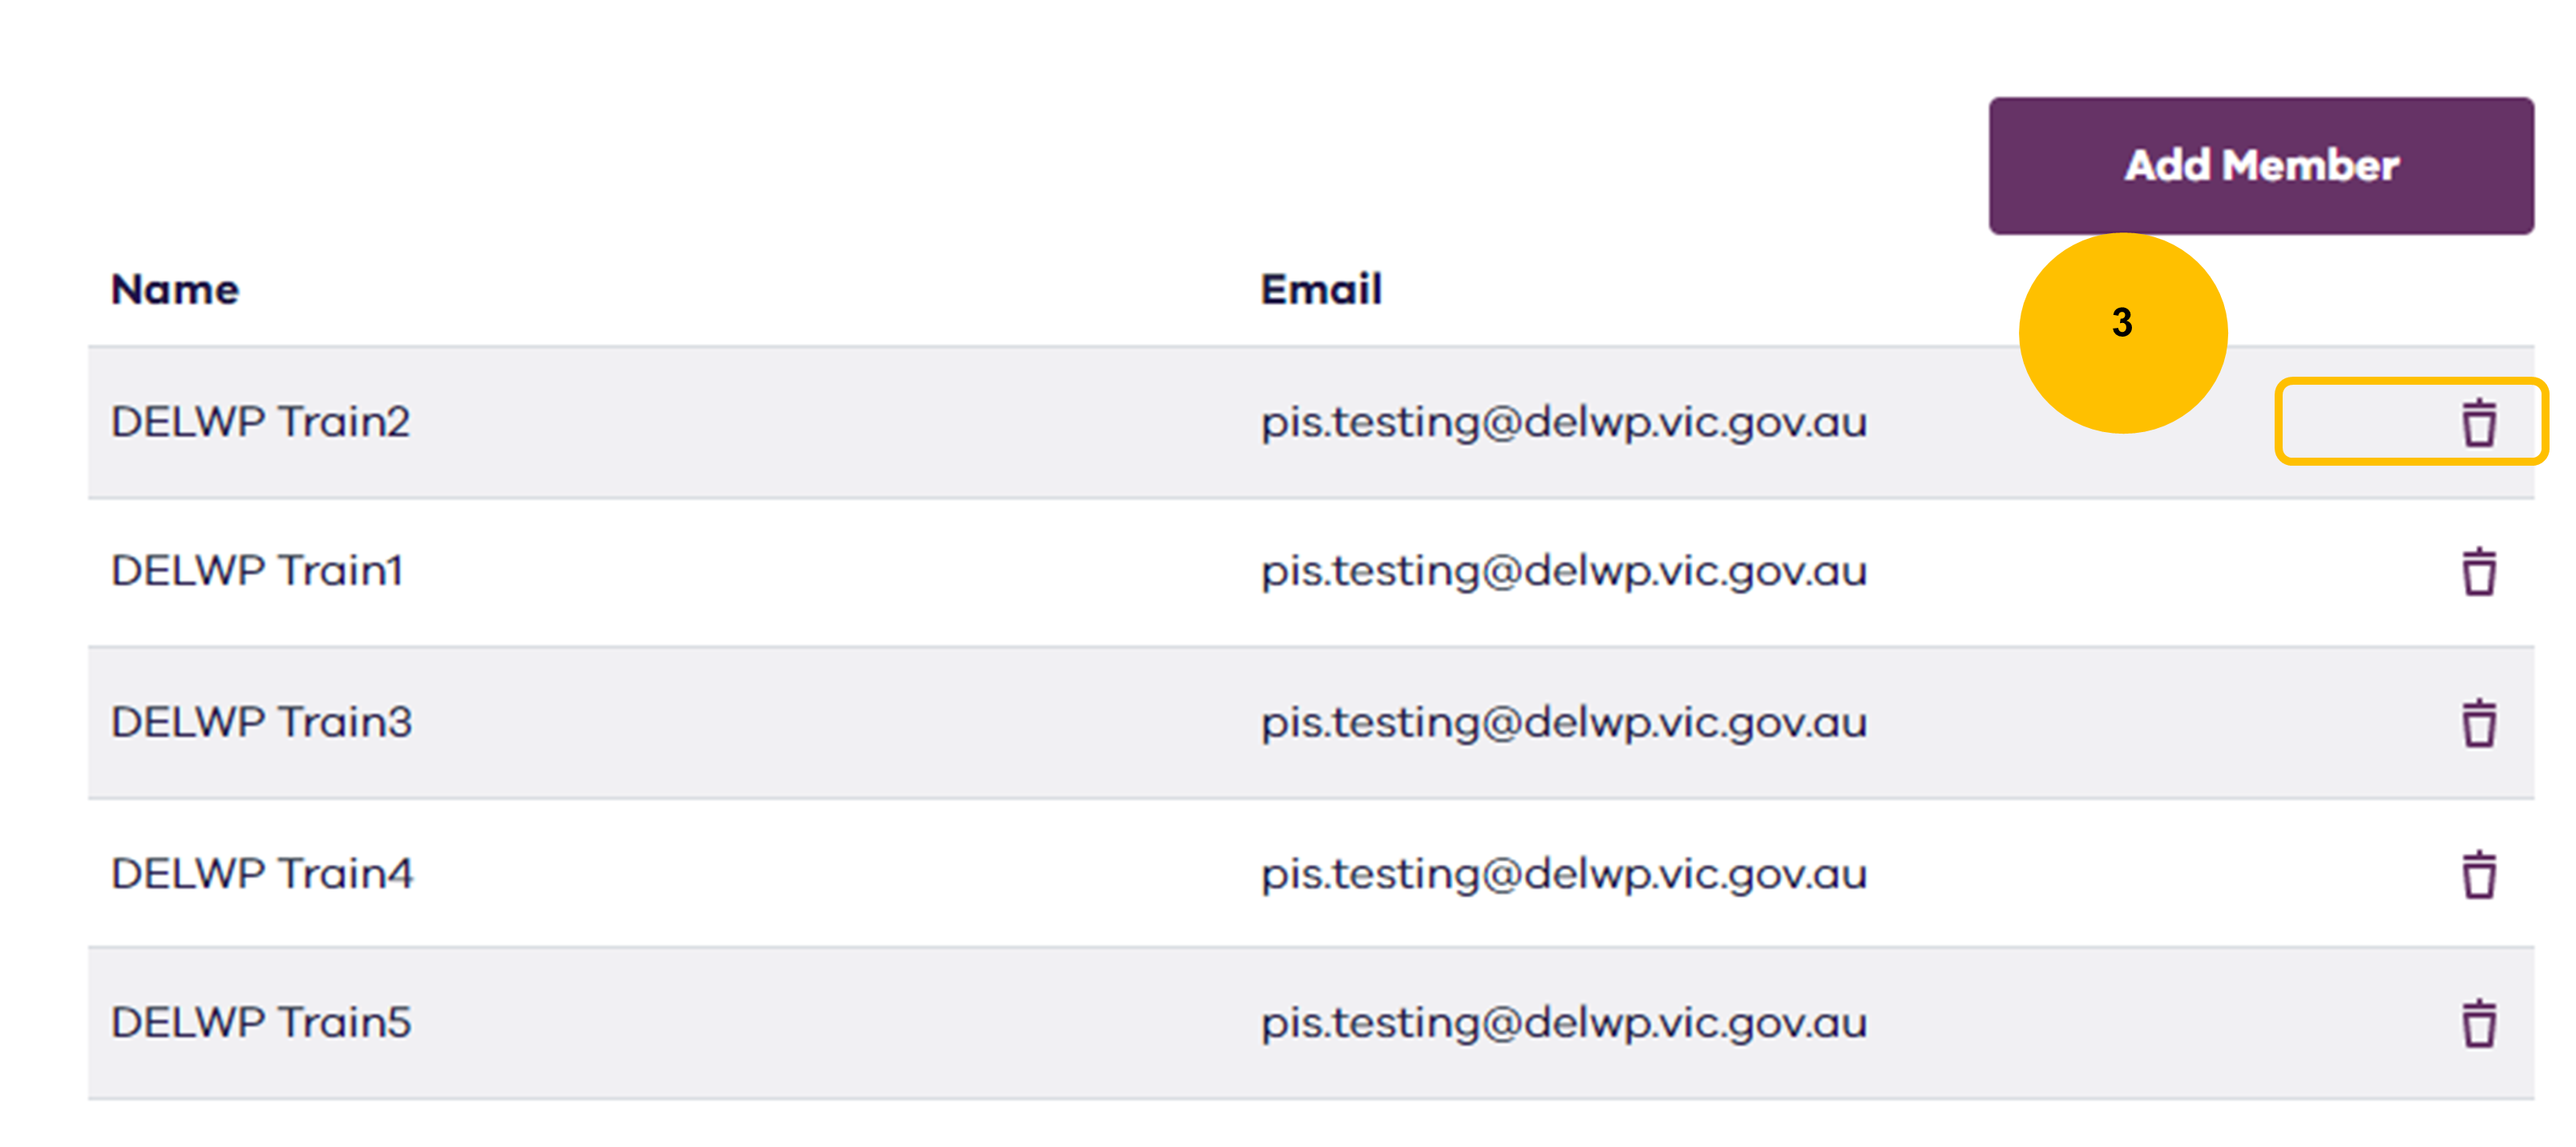
- Select Add Member.
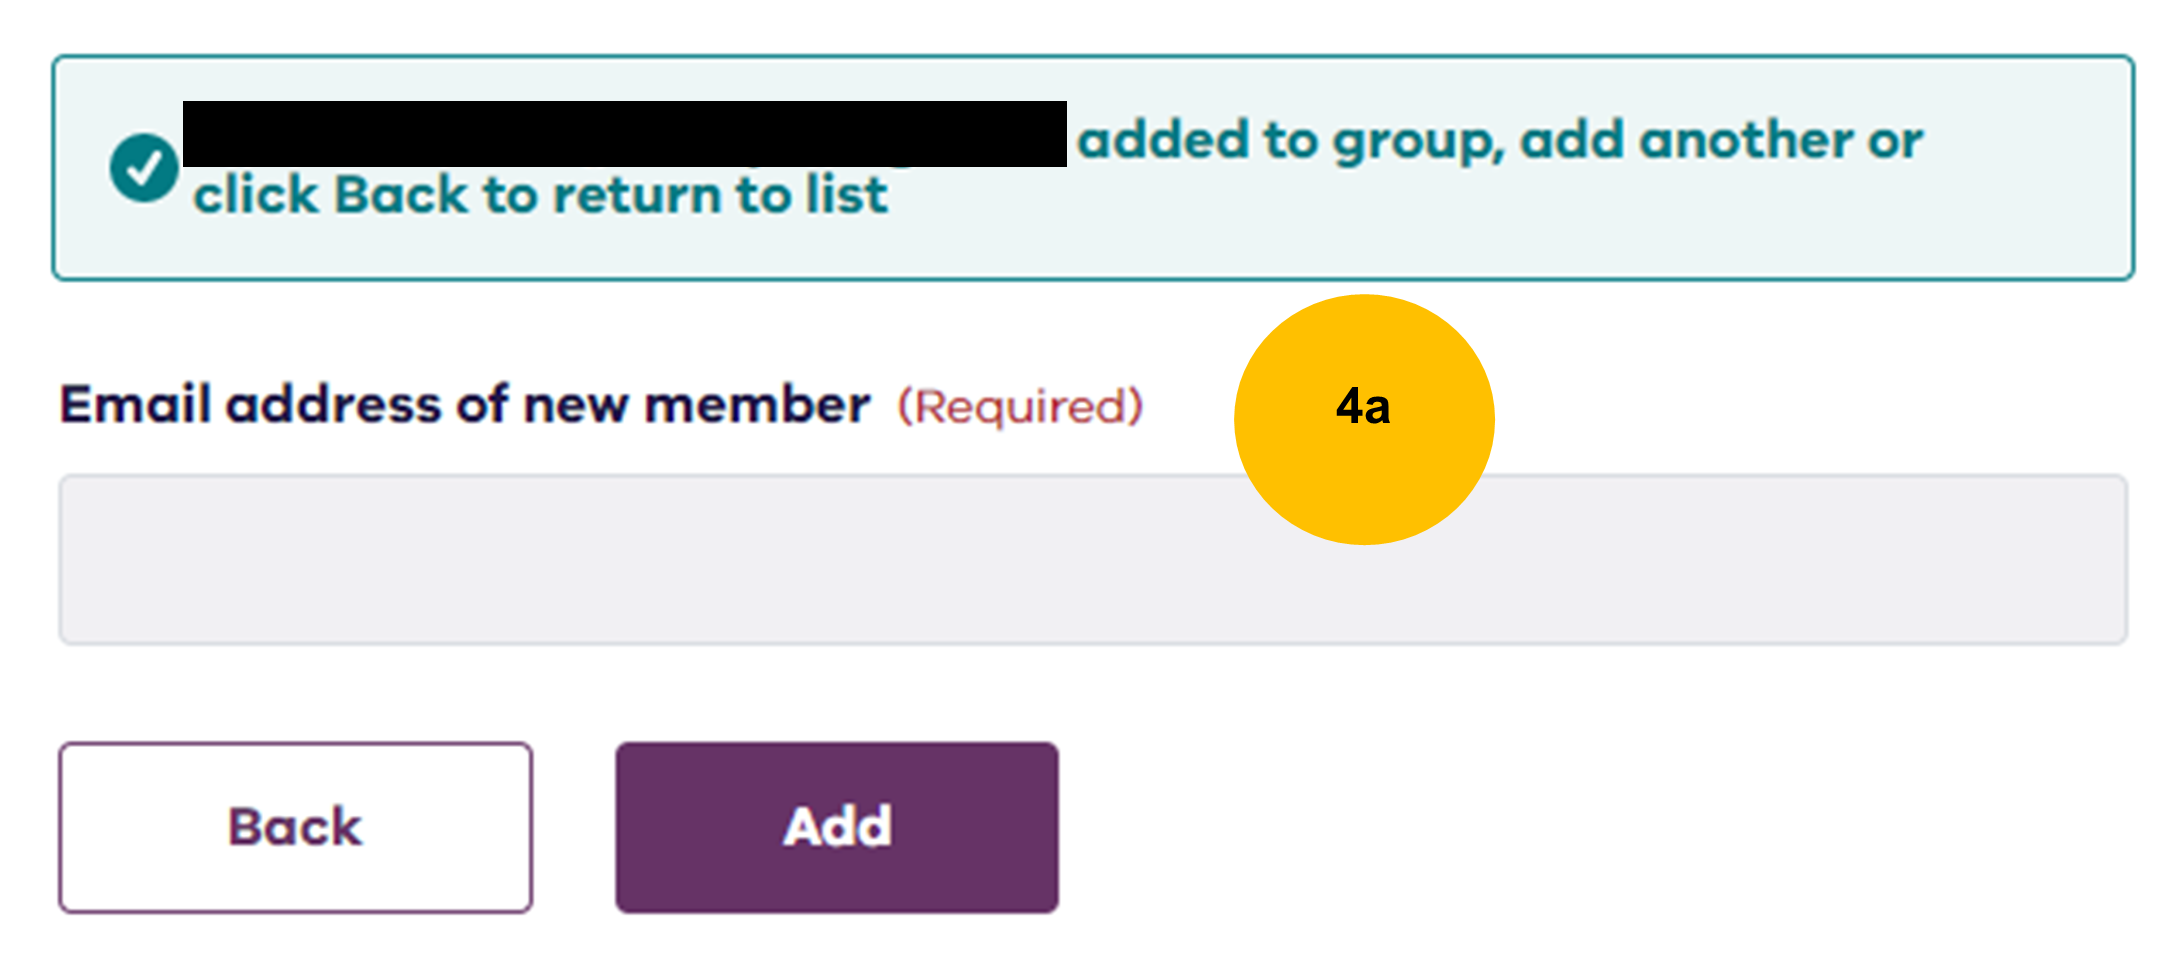
- Enter their email address and select Add.

- Where the user already exists in the digital planning system, they will be added to the same group. The new user should refresh their browser and should see the group's dashboard.
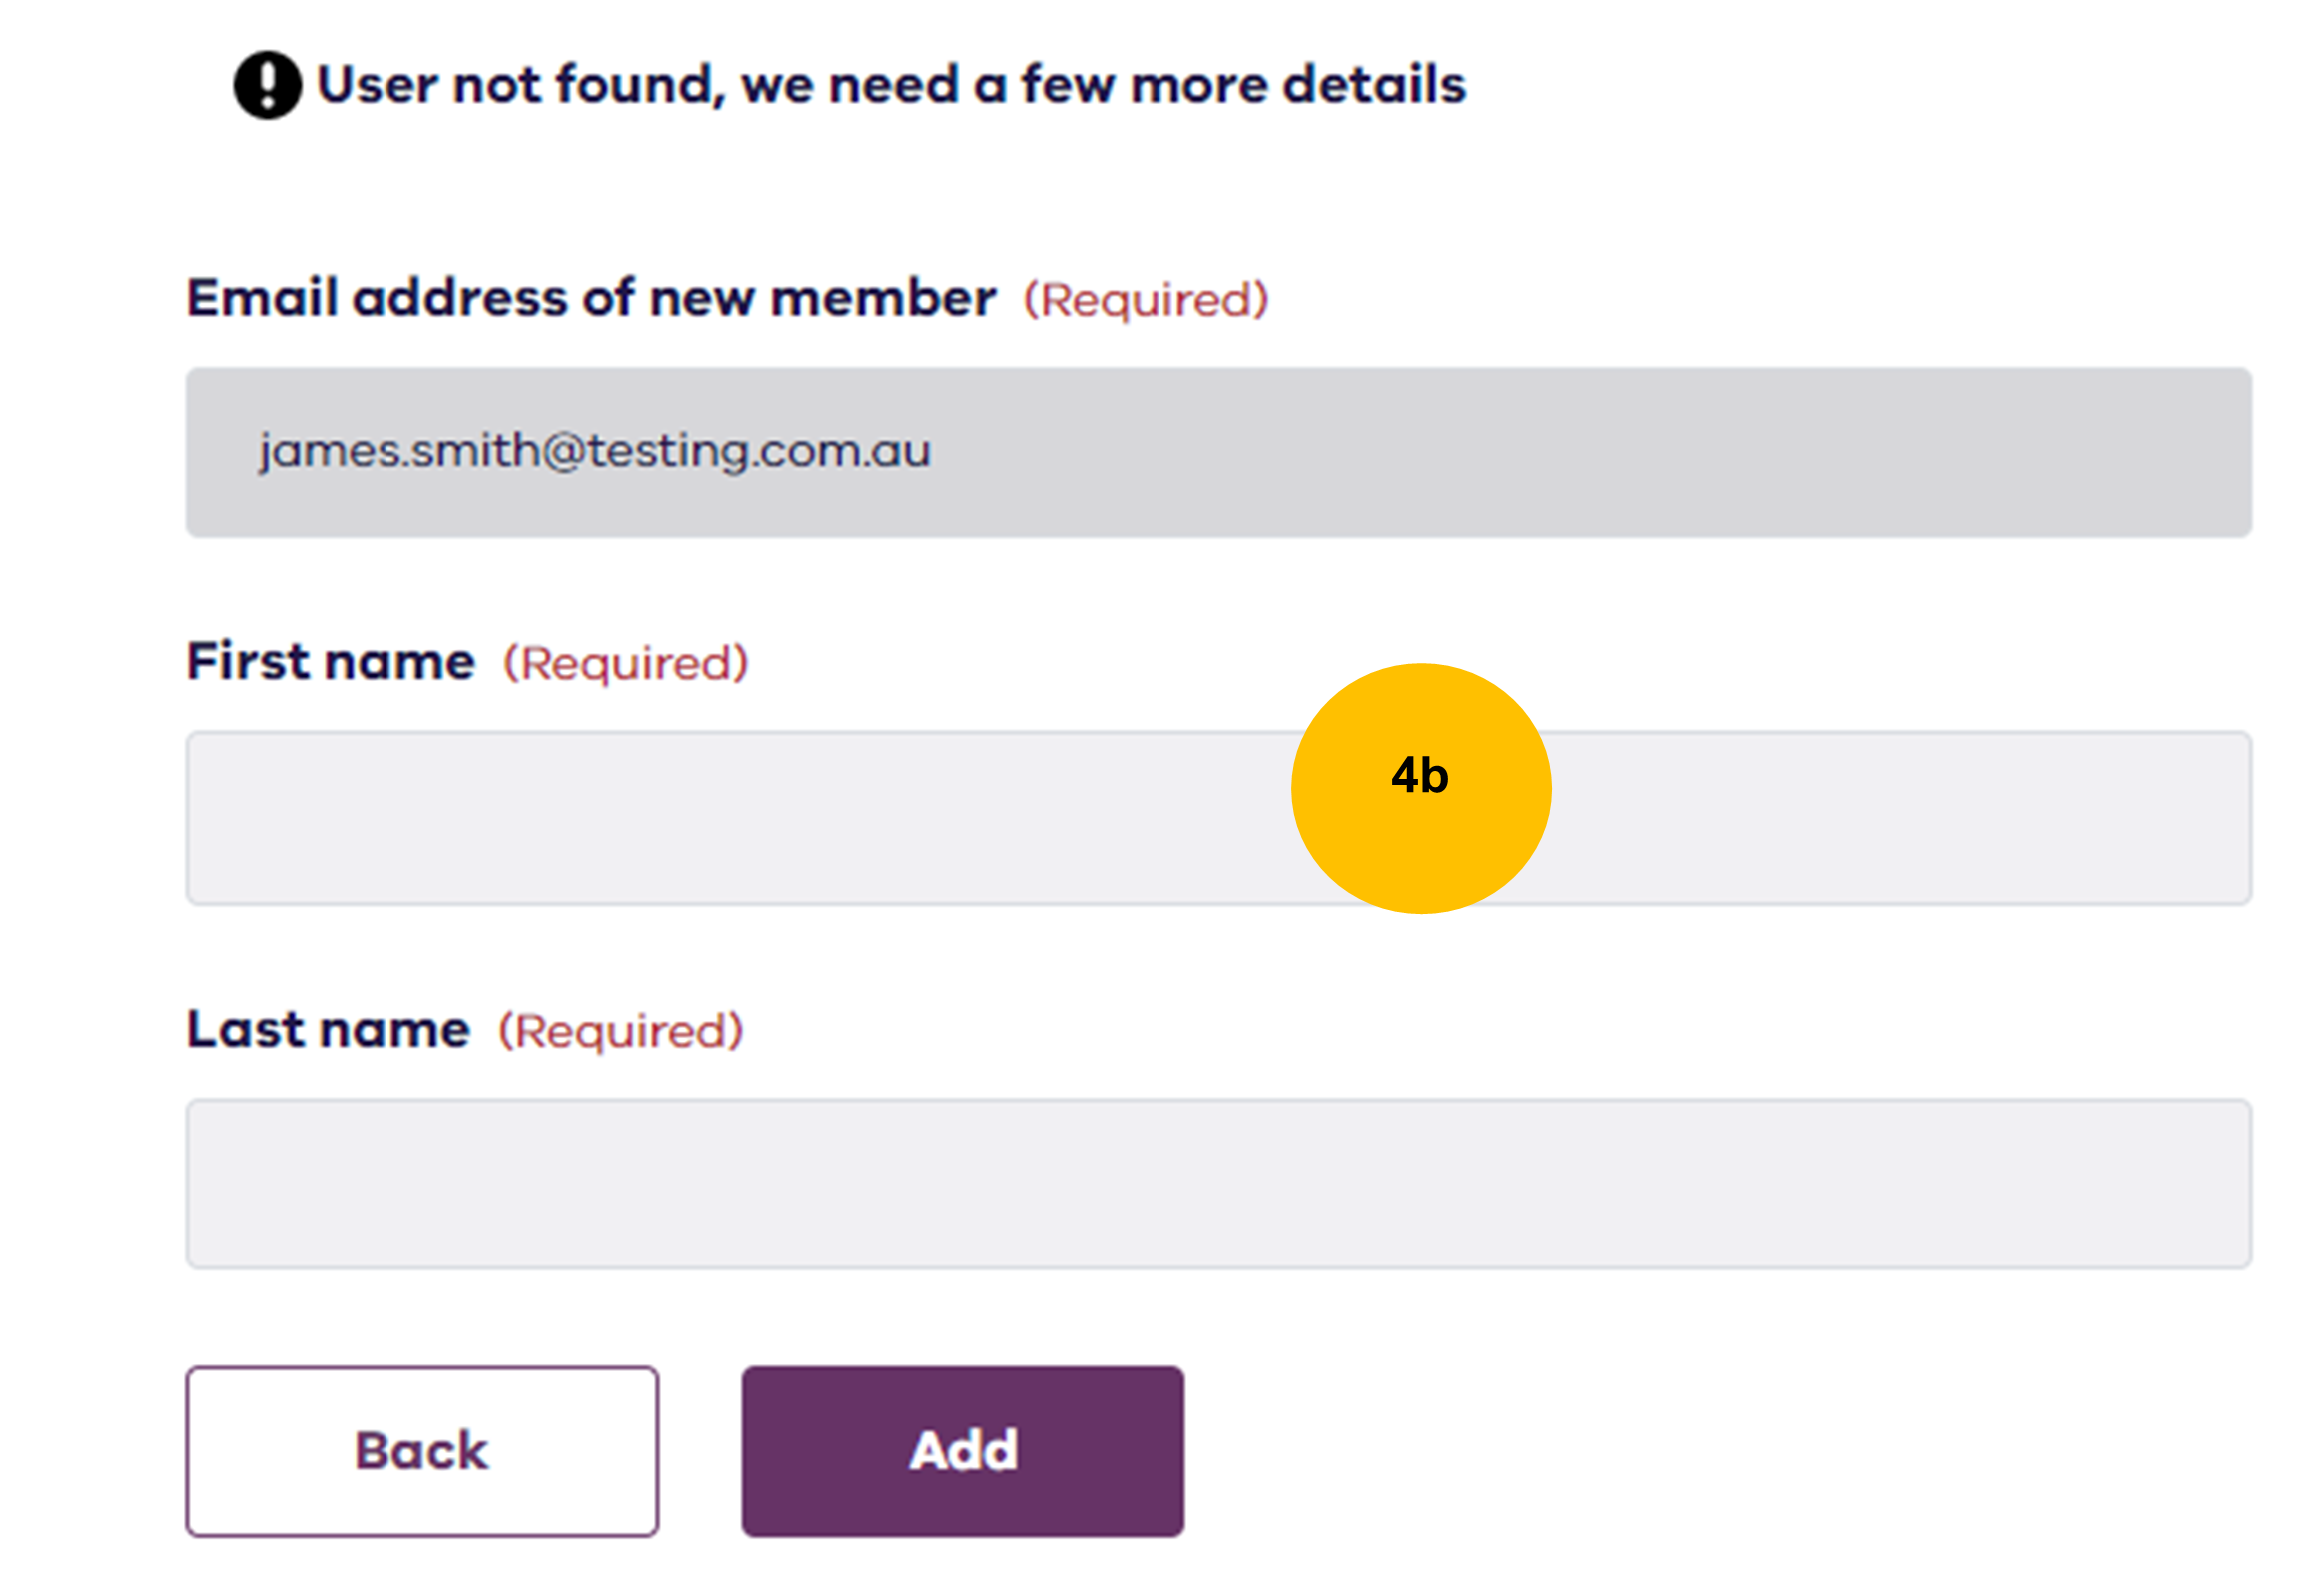
- If the user is not found in the digital planning system, the first and last name will need to be entered. After selecting Add, an email containing instructions and a link to complete their registration will be sent to the user.
- Where the user already exists in the digital planning system, they will be added to the same group. The new user should refresh their browser and should see the group's dashboard.
Deleting a user
Manage groups functionality can be used to remove a user from a group. This action is particularly important when a user leaves your organisation.
The user removed will no longer have access to the group and any records created by or referred to the group . Ensure to update any records where the user was a primary contact so that any communication is not missed.
- Select your user profile located at top right of screen.

- Select Manage Groups.
- Locate the member to be deleted and select the Remove from group icon.
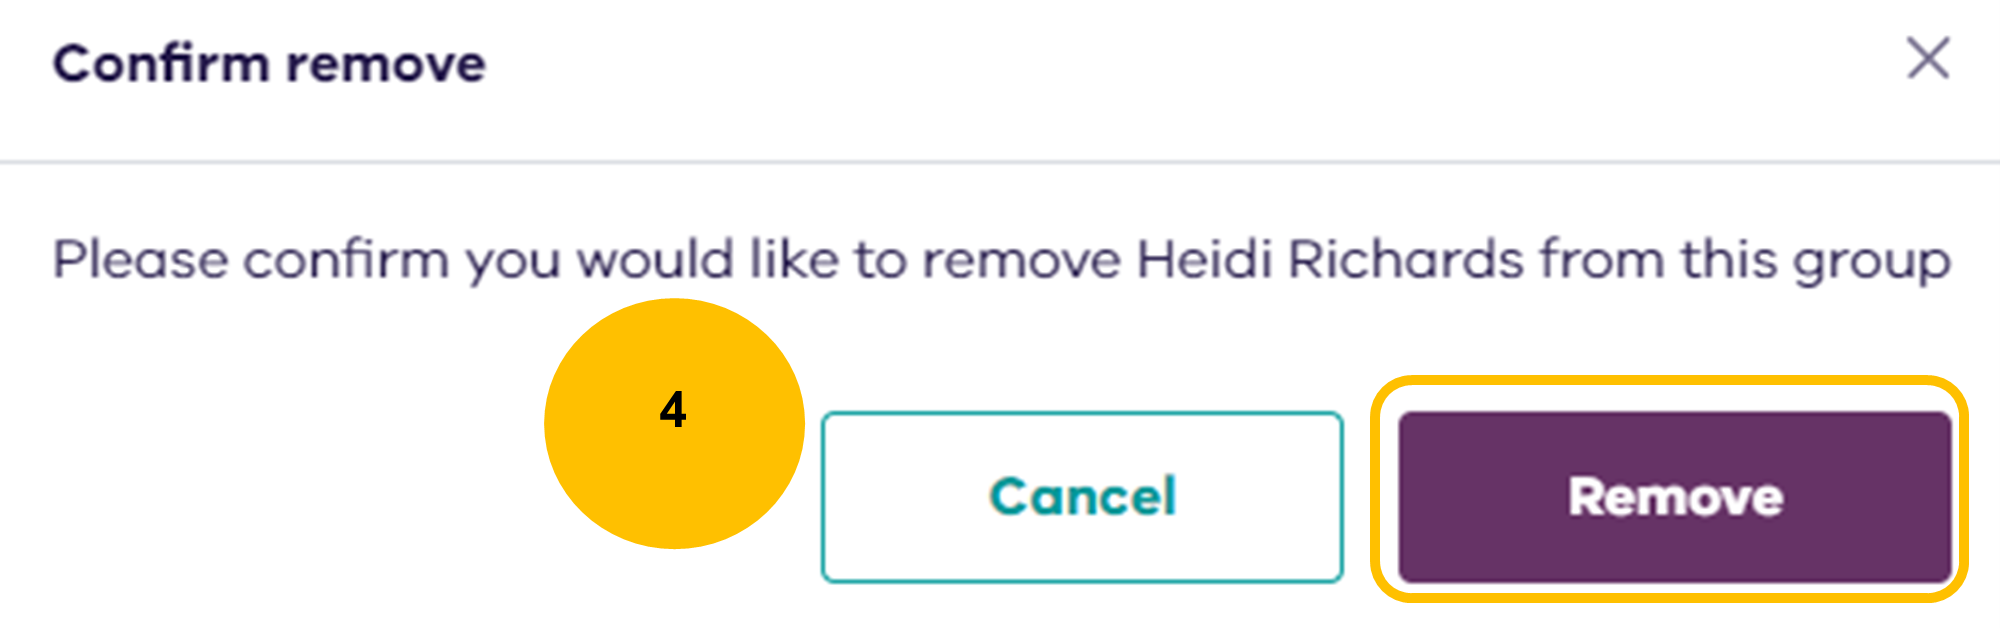
- Confirm the removal by selecting Remove.
Page last updated: 01/07/24